|
Three Ways to Record Screen on Mac OS Since video tutorials are good presentations to show others a project, there must be many times when you want to record screen activities on your Mac. And if you search the Internet, you will find that there are plenty of video recording and screen capturing tools out there, but vary in functionalities. The easiest way to record video on your Mac is with the built-in QuickTime app. Open your Applications folder to find QuickTime. Once it's open, go to File > New Screen Recording and then click the Record button. You can choose between recording a portion of your screen or the entire screen. If you are just looking for a screen recorder but don't know which to choose, you can simply refer to the following top 3 tools, including QuickTime Player, Any Video Converter Ultimate and Camtasia, to record screen on your Mac OS. Way 1: Record Video with QuickTime Player Many users didn't know that Apple has added the screen recording feature to QuickTime Player in Snow Leopard. It lets you create easy screen activities and share with others. Let's follow the steps below to record video with QuickTime Player. Launch QuickTime Player, select File > New Screen Recording. A screen recording window will open. Before you begin to record the screen, you can click the small triangle button on the right to set a few settings. Hit the red 'Record' button to start capturing your screen, you will get a hint to ask whether capture the entire screen or only a portion of the screen. Click 'Stop' button once you finish the screen recording. Then you can preview and export the recorded video to save. Tips: QuickTime Player also allows you to record the audio and movie. Way 2 Another video recording software we are going to introduce is, which is able to record screen and video, including streaming videos, online videos, live sports, etc in fast speed with excellent audio & video quality. Open Any Video Converter Ultimate for Mac and go to the 'Record Screen' panel record screen to select the record mode. Set the Capture Parameters on the right pane. Click Start Record button to start recording. To stop the recording, you have three options: click Stop Record button in Record Screen list, click Stop button in Task-Pending-Recording list or click shortcuts “Shift+ Command+ 1”. Tips: Any Video Converter Ultimate also allows you to convert the recorded video files into other formats, such as WMV, MPG, MP4, AVI, 3GP, 3G2, FLV, SWF, MP3, WMA, etc on Mac. Mac mail for gmail. Way 3 Record Video with Camtasia Mac The last screen recorder in our list is Camtasia from TechSmith company. This video capture is a best combination of screen recording and video editing. It's more than a simple screen recorder, but gives you the tools you need to truly customize and edit your videos. This is the most professional and the best of these three screen recorders, but also costs the most, about 100 US dollars. Load Camtasia Mac 2 and you will get the setting window: Step 2. 
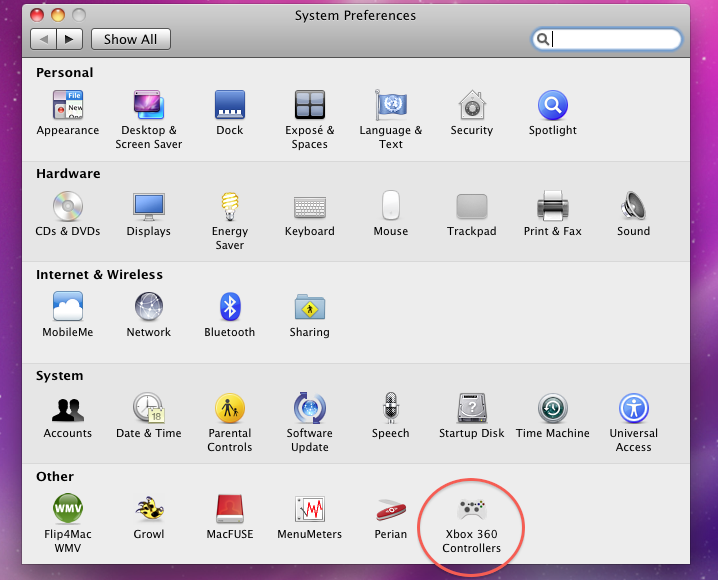
Choose the preset region of your video recording and hit the red button on the right to view and preset the recording region. Begin to capture the screen activity by clicking 'Rec' button. Tips: After the recording is finished, Camtasia will lead you to a video editing window. You can then edit the video by adding some special effects, trimming, cutting, annotations, etc to make it more vivid. So which way do you prefer? Connect your controller. For wireless, plug in the USB receiver, turn on your controller, and hold the Connect buttons on both devices until a connection is established. If you want to monitor the driver, open the System Preferences pane and click on 'Xbox 360 controllers' in the bottom row. Use An Xbox 360 Controller On Your Mac [OS X Tips] Now, plug in the Xbox 360 wired controller. The green lights around the middle Xbox button will light up, but then will go dark. Unlike when connected to an actual Xbox 360, the controller will not light up when connected to your Mac. Now, pull up System Preferences. How to hook up an Xbox 360 controller to your Mac on OS X Yosemite. Available to download via the Mac App Store, Joystick Mapper sells for $4.99 and Gamepad Companion is $7.99. Their purpose is to configure your controller to act as a keyboard and mouse, with you getting the chance to dictate which buttons map to which keyboard presses.
0 Comments
Leave a Reply. |
AuthorWrite something about yourself. No need to be fancy, just an overview. ArchivesCategories |
 RSS Feed
